How to add 3D models into PowerPoint presentations
Sponsored Feature
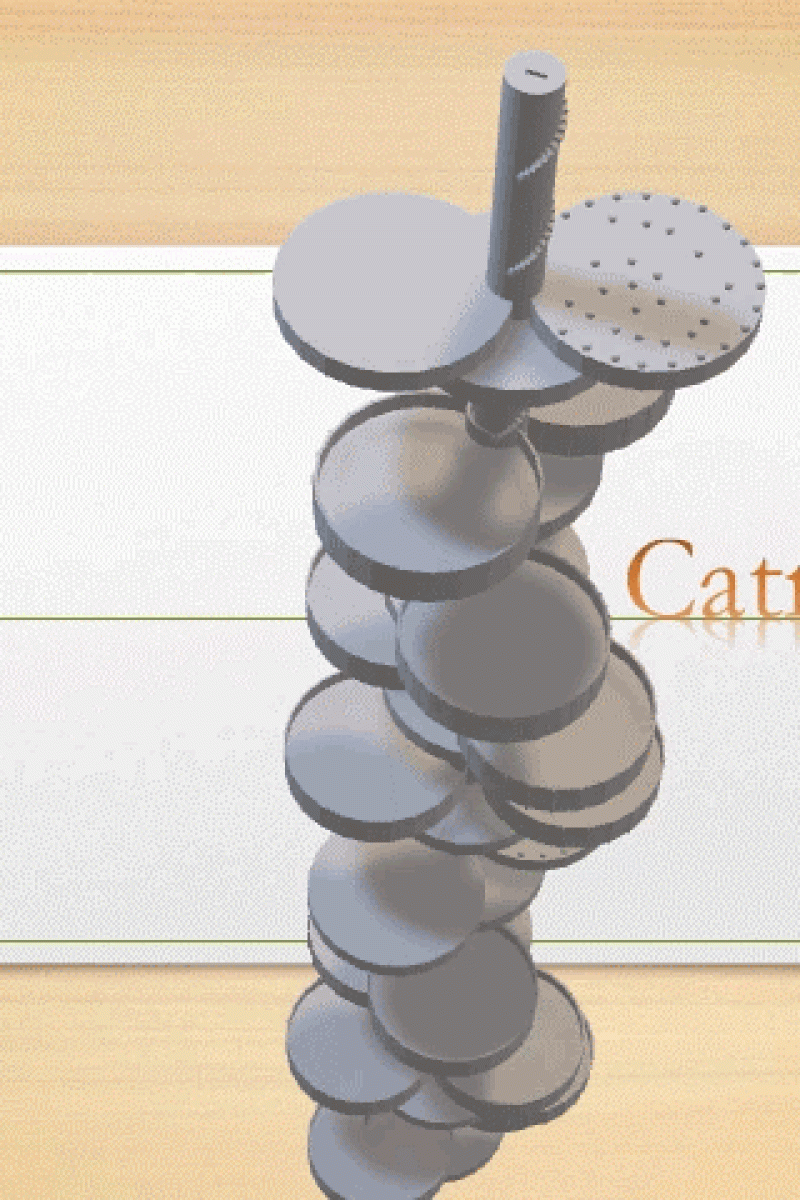
 Learn how to insert this 3D models into PowerPoint presentations
If it is now time for you to prepare a mid-term school project or applications for college admission, it makes sense to use inventive design concepts which are eye-catching and can set you apart.
Designing a great presentation is not easy, but it is fun. The main objective is to give the intended audience the information they need. But this can also be done in a way that is creative and entertaining. The success of any presentation ultimately lies in how well you communicate facts and ideas. However, good design can make a big difference, helping a project or application to really stand out and making everything easier to understand.
In the case of an architectural design presentation, millions of dollars may hinge on the outcome. Potential clients expect to be impressed and they will be paying close attention to the overall appearance of the presentation and the details.
3D modelling can make your school projects look really cool; here's a sneak peek of how to it works
Using 3D models can give you an advantage – and it doesn’t require any modelling software. It is an easy-to-use method allowing you to give a more complete view of all the design elements involved. Let’s start by doing one here!
Step 1 : Create a new file
Install Powerpoint 365 (online version) or Powerpoint 2016 on your computer. Then select “New” file from a template you like to work with.
Step 2 : Insert your 3D model (or find a free one to insert)
If you do not have a 3D model or simply want to spice up your slides with a rotating globe, you can still make use of some free 3D models available online. Microsoft provides a number of these 3D resources. This is how you can do it:
Step 3: Resizing and adjusting the model
That’s it! By following those steps your presentation can be improved with 3D models. If you have some other great ideas on how to put these techniques to good use, you are welcome to email your PowerPoint to [email protected]. We will select a few creative examples and post them on our websites for the world to see!
Edited by John Cremer
(Disclaimer: Neither My Archischool nor our staff have any commercial relationship in any form with Microsoft or their authorised dealers.)
My ArchiSchool is an education institute that introduces the skills and knowledge needed to explore a career in architecture. For class enrollment or educational activities/ exhibitions, please contact Cathy Ng at [email protected] or (+852) 9613 1137.